Hakim Custom Home
When building a Custom Home, it is imperative to scour every detail in the plans, as there are many steps, and each step can significantly impact the next. Read More
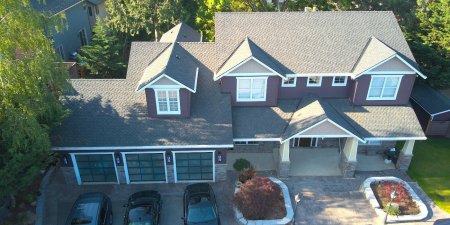
This plan, in particular, had an existing small single-story home that we had to tear down almost entirely, only leaving the much smaller existing foundation. We then retrofitted that portion by enlarging the footing and stem wall to accommodate the new two-story home loads and formed the newly expanded areas of the footprint that tie into the existing. A new home that includes some existing requires higher analytical abilities, as the builders are not starting with a fresh slate where you are easily in control of all the factors. In this type of build, you have to conceptualize the merging of the existing and the new by considering the irregularities in the existing like out of level or out of square, how that may affect the structure, and minimize these effects. As you can imagine, with typical companies that sub everything out, or only do one part, conveying all the ideas and what you have learned through each step, or how to apply to the next is near impossible. However, as an all in-house company from foundation to finish, we know the story of the structure, and we know the best way to rewrite it.
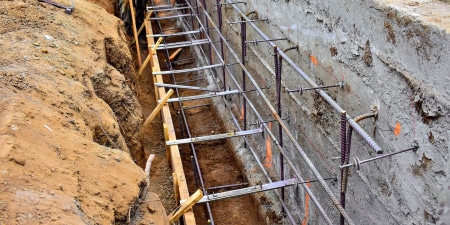
In total, the home took five months. We began by excavating and grading for the new foundation areas. Once the footings were graded by laser, we began assembling concrete forms and setting rebar for both the retrofit and the new footprint. On pour day, and with all hands on deck, we hustled to ensure that all the forms were properly filled, leveled off, and all the hardware installed. After covering the concrete forms, and a few days of solid rain, the concrete was cured enough to pull the forms, and a few days later, start framing the floor. At last, something to stand on while we build walls!
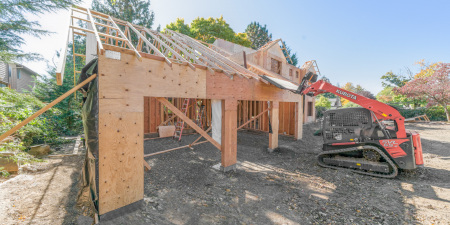
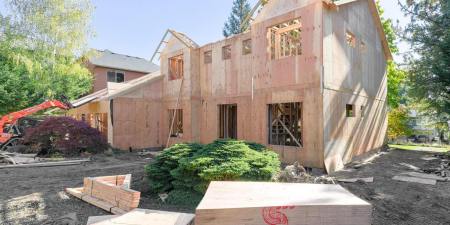
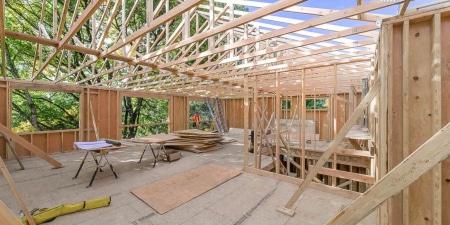
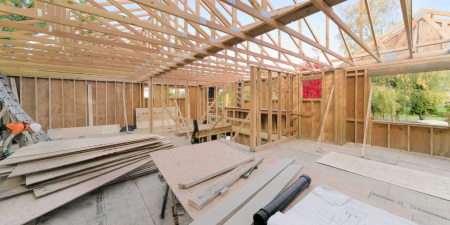
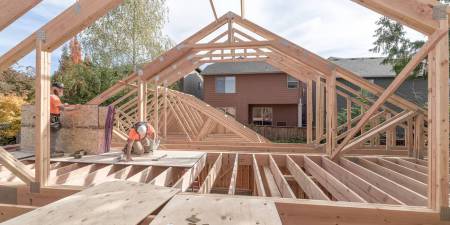
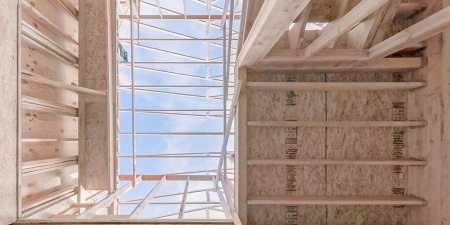
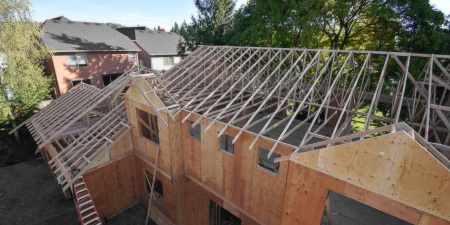
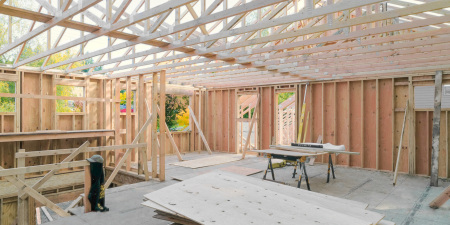
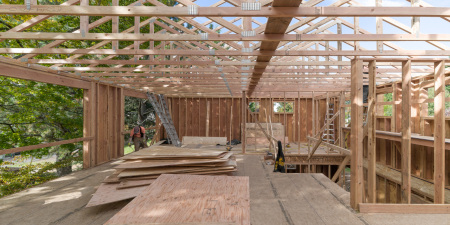
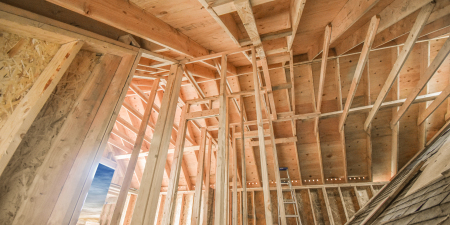
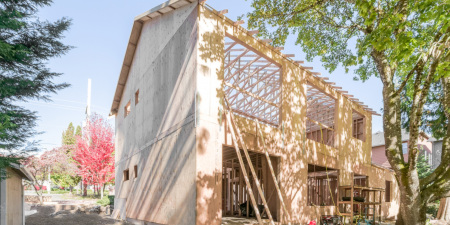
Framing the remaining of this 4,500 S.F home took two weeks of work to complete, and then the house had its bones. As a result, it was time for a water-resistive barrier or “drying-in” to ensure the framing and sub-floor are protected from weathering. The water-resistive barrier is always applied to the roof & walls of the home. In the rainy season, safeguarding the home from potential water damage is one of the most important things you will do during the construction process. We battled rainy day after rainy day throughout the framing and drying-in, but we did not allow it to affect our quality of work; in fact, it pushed us to complete these steps with even more efficiency. Someday, we may be in the area and want to show our grandkids one of the homes we built, so we have to make sure it stands the test of time! After all, part of why we do this is to leave a legacy.
Next, the home was ready for more permanent water-proofing, the roofing, windows, exterior doors, and siding. In a race to finish the shell of the home before it rained more, the roofing is tacked on 1st, with windows and doors close behind in 2nd, and just trailing is siding in 3rd. Upon completing the shell, there is much less risk from any weather-related damages that may occur, further protecting the home’s finishes. Subsequently, that means it is time to start installing the rough-in plumbing, rough-in electrical, and then the insulation to keep things inside the home warm or cool, depending on the season. After the electrical, plumbing, and insulation are in place and multiple approved inspections, it is time to close everything up with the Drywall. After that, the structure is now ready for final finishes and for the homeowners to move in!

