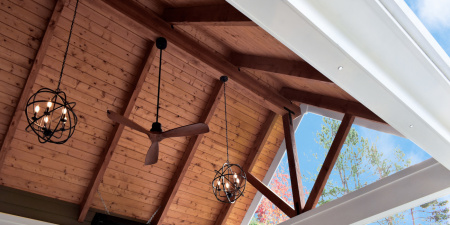
Struthers Patio Cover
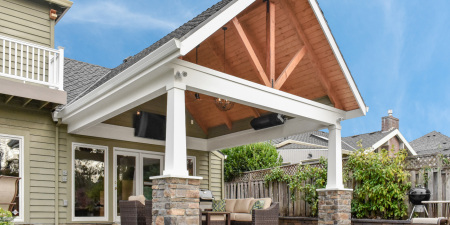
This Patio Cover was a perfect opportunity for us to showcase a variety of our skills. Read More
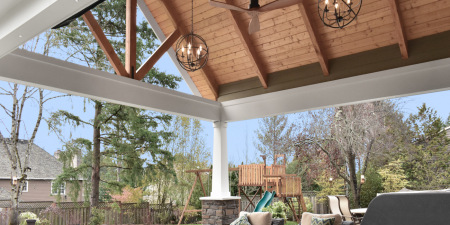
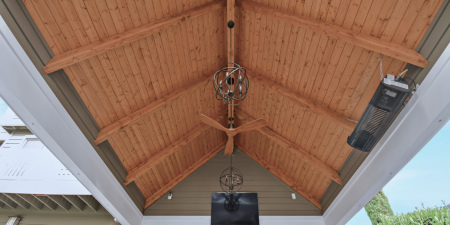
At the beginning of this project, we had to pour the footings, set the posts, and prepare the wall for the ledger beam. Once we had that completed, we were able to start framing and building it up to be recognizable as a cover. After this was finished, we sheathed and applied the underlayment, to keep water from rotting the roof or framing. Luckily for us, we started this project in mid-spring, so the weather was pleasant and generally accommodating to our endeavors. This allowed us to quickly install the roofing safely, and then the entire next week it rained! While it was raining, we built the framing for the post bases below and prepared them for the stone veneer. For the heaters to work properly, the gas line needed to be extended, so we connected it to the heaters and hid the pipe behind the newly installed T&G so it wouldn’t ruin the clean aesthetic of the cover. Upon finishing the post bases, the electrical was finished at the same time and now the heaters, lights, fan, and TV could be hung and connected.
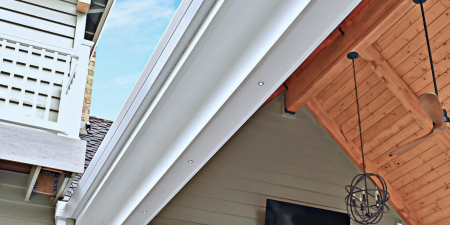
Now that the cover was about finished, we started to work on painting the beams, posts, siding, and trim. As soon as the paint was dried, we installed the low-voltage LEDs for the last bit of details and finishing touches. At last, the cover was finished and everything was in place! This project turned out to be a beautiful space, and we are truly glad we had an opportunity to do such an awesome project, for such a great client with an excellent vision.

